Bus Mods: Phase 2
Preparation of phase 2 of bus mods in Proton Bus Simulator
This document is a draft. It will take a while to become more comprehensive. Please be patient, remember that this is an indie project made in free time. The best way to understand how mods are made is by poking around the example mods. Most of our mods have the 3D open for editing and analysis. They will be posted on the site: www.busmods.com
Phase 2 of the bus mod system brings several animations, which were previously available only on native buses. Most things just require placing new parts with specific names in the 3D. Some other properties and commands have been added. The most significant ones are explained in this document, while the simpler ones can be explored directly in the example mods.
To proceed with this guide you already need to know how to convert mods in phase 1, otherwise you might not understand things. If you are starting from scratch, please see the tutorials for phase 1: http://blog.protonbus.com.br/2018/09/primeira-fase-do-sistema-de-mods-de.html
Except where indicated otherwise (doors, sounds, lights etc), most settings are made in the main bus file.
Version and Mod Selection Screen
[mod]
name=MiBRTS
busModVersion=2
preview=preview.png
Change the busModVersion item to 2. This will be useful in the future, when phase 3 supports new things... The current game will read this to issue a warning to players that the mod is not supported (this will already happen if you test with a 3 or 5 or any higher number there).
The preview item indicates an image to appear on the selection screen. The image is located in the base folder of the bus (the baseDir), not in textures. If this item is omitted, the game will automatically search for an image called preview.png.
Prefer to use the 16:9 aspect ratio in the image, such as 1280x720 or half, so it doesn't become a large file: 640x360.
Standard Shader
[config]
useStandardShader=10= disabled1= enabled
This option forces the use of Unity's current shader, the Standard Shader. The interior of the bus may look a little nicer, but it may be heavier on mobile phones. It is an option that may be removed if it becomes heavy. Leaving it at 0, or omitting it, remains the previous standard (the Legacy/Diffuse shader) with more washed-out colors and no shine/specular.
As it is an experimental option, it is not yet possible to change the metallic, specular etc parameters, they will remain at the default 0.5.
Reverse Camera
[reverseCamera]
posX=0
posY=3.22161
posZ=-6.11213
rotX=30
rotY=180
rotZ=0
Command similar to the mirror, but in this case it is a camera facing backwards, positioned somewhere at the rear of the bus. It can be slightly rotated down on the x. Note the rotation of 180 degrees on the vertical axis (Y in Unity, Z in Blender), to be facing backwards.
The reverse camera monitor is basically a plane, positioned where the screen sits. It will stay disabled in the game, only appearing when in reverse. It must have a background under it, so there isn't a hole while not in reverse. The plane needs to be slightly above the background, to avoid flickering (the traditional Z-fighting in games).
The screen part must be called: _reverse_camera_screen_
It has to be mapped to the entire texture in the UV, but does not need to have material or texture associated. Unlike mirrors, do not use mirror on x in mapping, since the camera does not generate an inverted image.
Exhaust Smoke
[posSmoke1]
enabled=1
posX=-1.0966
posY=3.08716
posZ=-6.1505
rotX=0
rotY=0
rotZ=0
multiplier=0.5
colorR=0.2
colorG=0.2
colorB=0.2
colorA=0.1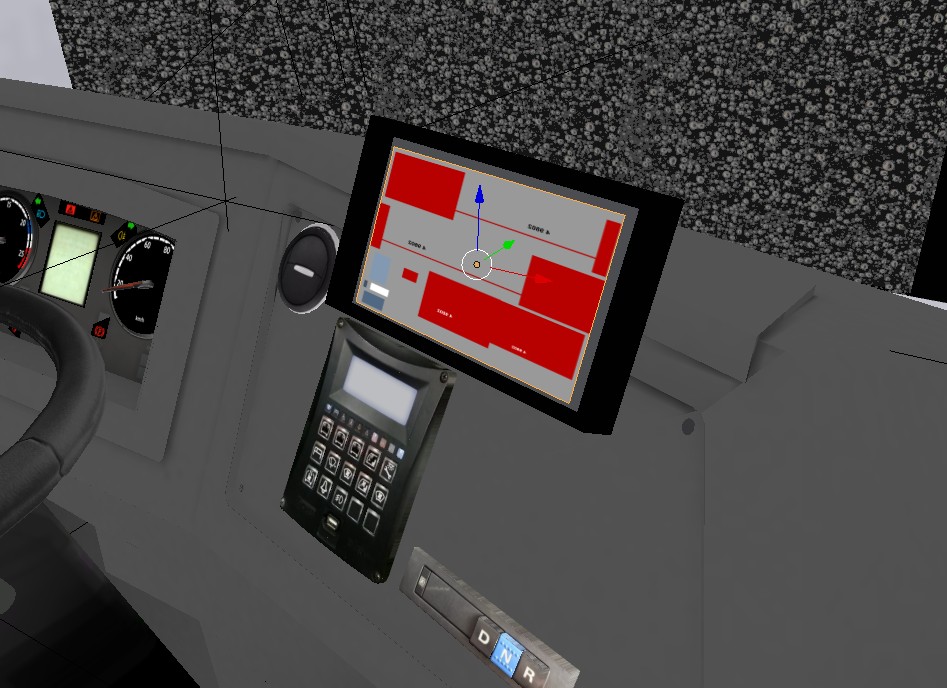
The exhaust control got new parameters: the multiplier is an intensity multiplier, to emit more or fewer particles. Do not exaggerate the value upwards, as it may be heavy for players. Putting 0.5 emits half of what it would, putting 2 emits double, 1.2 a little more, etc. Keep testing, but do not use very large numbers like 5, 10 etc.
There in the specialTextures section you can define the smoke texture that will be used in the particleSystemSmoke1 parameter.
[specialTextures]
particleSystemSmoke1=ParticleCloudWhite.png
Colors in Various Configurations
Some new commands accept color customization. The engine uses colors in RGBA format with values from 0 (null) to 1 (full color).
Examples:
colorR=1
colorG=0
colorB=0
colorA=1
The color above becomes red. If you leave G at 1 and R and B at 0, it becomes green. If you leave B at 1 and R and G at 0, it becomes blue. From there you can mix values to reach the desired color.
Command Cameras
When pressing C or clicking on the command camera icon on Android, the game changes the view focused on dashboard areas where the player can click buttons.
These camera positions are identified by the command command_camera_ followed by an incremental number for each position.
[command_camera_1]
posX=-0.174367
posY=1.76852
posZ=5.27041
rotX=-62.1665d
rotY=-13.3138
rotZ=-0.000039

[command_camera_2]
posX=-0.344243
posY=1.85677
posZ=5.22591
rotX=-66.1773
rotY=-15.7203
rotZ=-0.00003
There can be unlimited cameras of this type (use command_camera_3, etc). It takes quite a while to configure them, you will need a lot of patience. It is an optional but desirable thing.
Air Conditioning
The air conditioning system has settings scattered across several files. The air conditioning control is positioned in the main bus file.
[air_conditioner]
enabled=1
posX=-0.761969
posY=2.74968
posZ=5.72929
rotX=-18
rotY=0
rotZ=0
scaleX=0.0025
scaleY=0.0025
scaleZ=1

[air_conditioner_screen_on]
colorR=0
colorG=1
colorB=0
colorA=1

[air_conditioner_screen_off]
colorR=0
colorG=0.25
colorB=0
colorA=0.75
Highlighted is enabled=1. If left at 0 it will be disabled.
The last two define the color of the screen dots. Unlike the reverse camera screen, this one does not need a plane, the system generates it dynamically.
Above the air conditioner on and forced fan buttons, take two more coordinates for small lights that will be lit when these buttons are activated. These lights will be defined in the lights file (lights), like this:
[air_conditioner_on_1]
posX=-0.683482
posY=2.77392
posZ=5.72009
rotX=-18.6
scaleX=0.01
scaleY=0.01
scaleZ=0.01
picture=Z_LuzAr.png

[air_conditioner_fan_1]
posX=-0.651946
posY=2.77392
posZ=5.72009
rotX=-18.6
scaleX=0.01
scaleY=0.01
scaleZ=0.01
picture=Z_LuzAr.png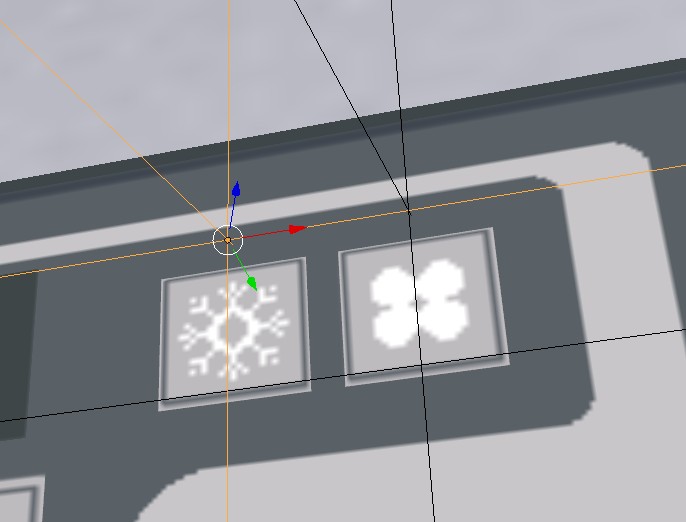
air_conditioner_on_1: Light for the air on button.air_conditioner_fan_1: Light for the forced fan button.
Air Conditioner Sound
In the sounds file (sounds):
[airConditioningSlow]
file=sounds/airConditioningSlow.wav
...
[airConditioningFast]
file=sounds/airConditioningFast.wav
...
3D Parts
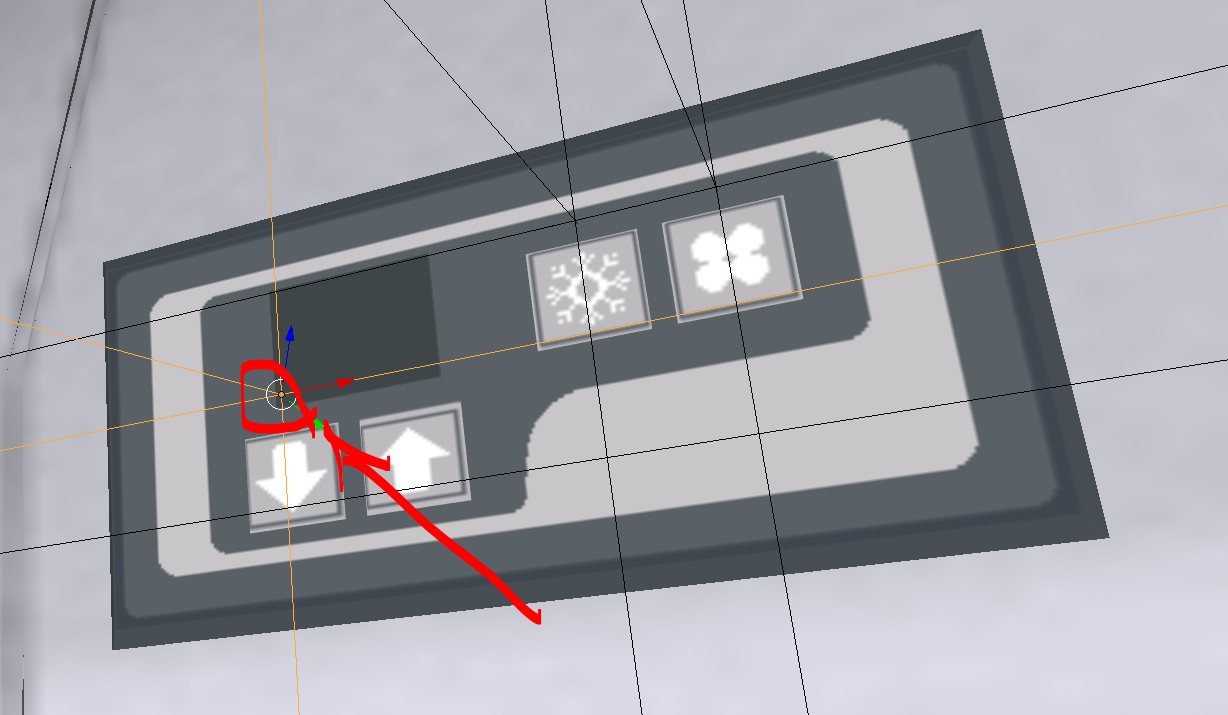
_airconditioner_button1_: on/off button_airconditioner_button2_: forced fan button_airconditioner_down_: button to decrease temperature_airconditioner_up_: button to increase temperature
Reflections
Reflections in Proton are defined in the configuration file (.bus), where you change the metallic and glossiness parameters.
//side reflections
[ref001]
metallic=0.4
glossiness=0.8

//mask reflections
[ref002]
metallic=1
glossiness=1
The names of the parts that will use said reflections must have their identifier using _, for example, _ref001_. Ex: _ref001_skin001_body.
Glasses with Reflections
If you want to use reflections on glasses, define the glasses like this (there is a limit of ten for now):
[glass001]
enabled=1
shininess=0.9
specColorR=0.3
specColorG=0.3
specColorB=0.3
specColorA=0
refColorR=0.2
refColorG=0.2
refColorB=0.2
refColorA=0
Then name the part in 3D with the name _glass001_ etc.
If you leave enabled=0 the glass loses the reflection, returning to use the old mode.
IMPORTANT: on glass parts with rain, do not use reflection! It should be used only on normal glasses. Glasses with rain should use _transparent_.
Multiplex
Some modern buses have an electronic panel with soft buttons (Multiplex).
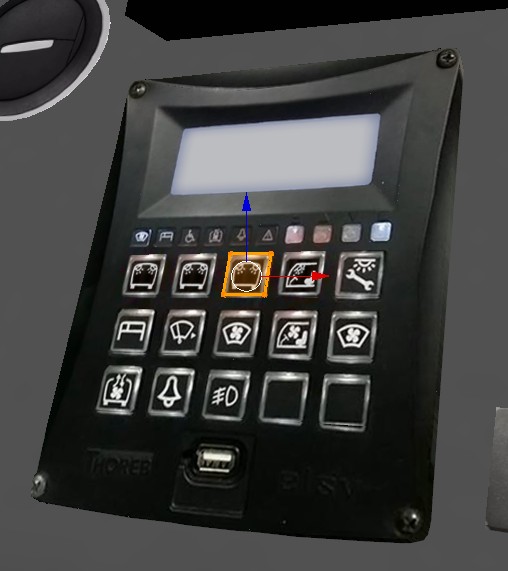
The textures are defined there in the specialTextures section:
[specialTextures]
multiplexOff=MultiTextura.png
multiplexOn=MultiTextura.png
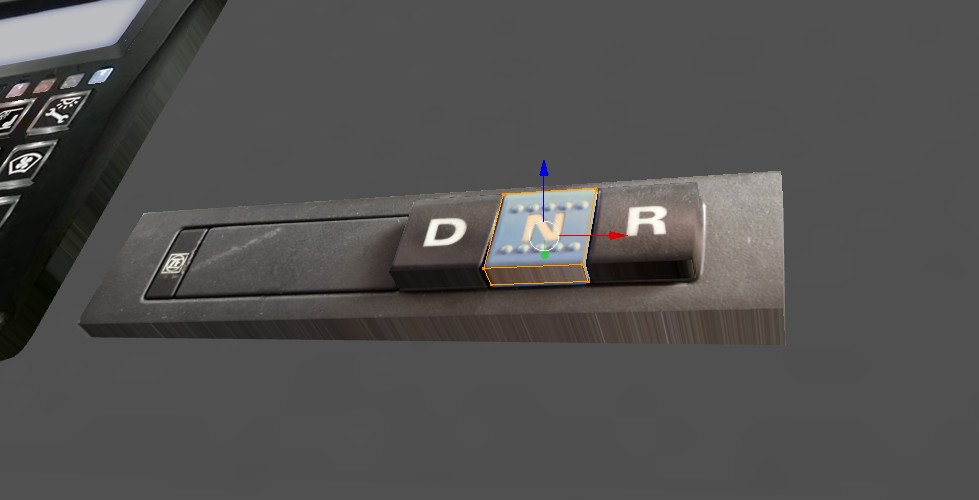
multiplexActive=MultiTextura_ON.pngGearbox
To make it easier, it is possible to place both parts for manual and automatic, and the game will switch the display according to the player's selection. Just name the parts with the appropriate names.
In the case of automatic transmission, those Scania that have 123DNR are not supported, the active one will be 3.
Door Lights
Poke around and explore the example mods to understand, please.
Other Topics
- Wipers: Improved animations.
- Optimizers: Hidden parts.
- Scrolling Signs: Basic support.
- On/Off Animations:
_anim001_on,_click001_on. - Audio: AVOID MP3 AUDIO! Use WAV.
- Textures: Avoid textures larger than 2048px.
- Passengers: Keep all passenger paths in the same
.3dsfile to avoid bugs.